Elementor is a powerful page builder plugin for WordPress. With the integration of The Events Calendar Shortcode & Block plugin, you can effectively promote your events using Elementor. Using our native Elementor widget, you can easily add a list of upcoming events to your site wherever you need it!
Step 0: Install Elementor
If you don’t already have the Elementor page builder plugin running on your site, just go to “Plugins” > “Add New” and search for Elementor. Install and activate the plugin.
The Events Calendar Shortcode & Block works with both the free and pro versions of Elementor, so the free version is fine to try things out! You can always upgrade later if you need the advanced features that Elementor Pro offers.
Step 1: Install and Activate The Events Calendar Shortcode & Block Plugin
To begin, you need to install The Events Calendar Shortcode & Block plugin. Once downloaded, navigate to your WordPress dashboard, and go to “Plugins” > “Add New.” Upload the plugin file and click on the “Activate” button to activate the plugin on your website.
Step 2: Create or Edit a Page with Elementor
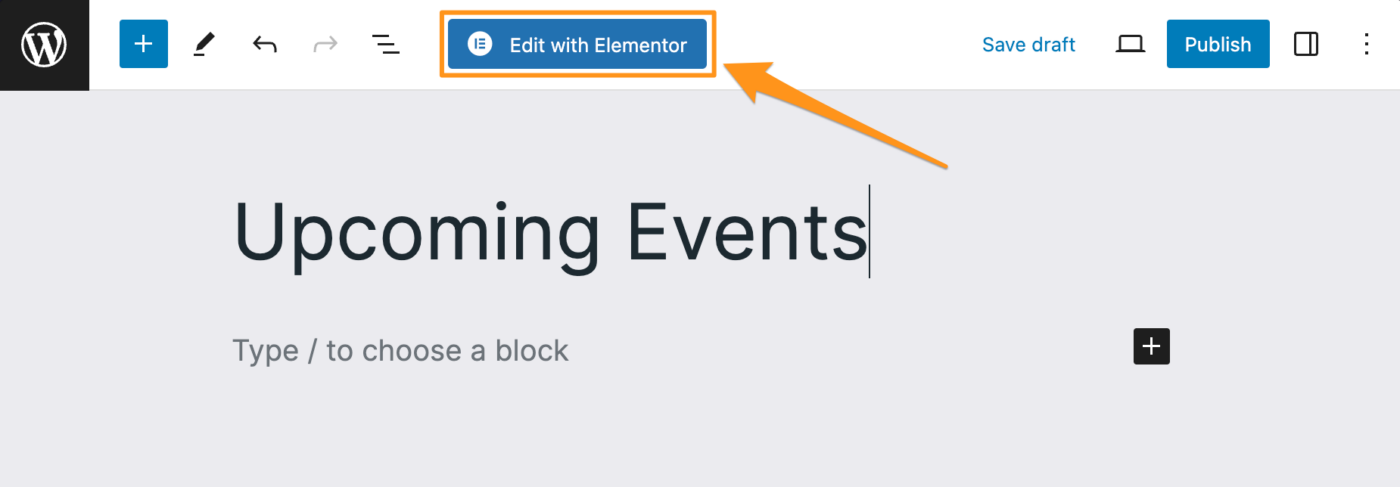
To add a list of events, you can either edit an existing Elementor page, or create a new Page and then click Edit with Elementor.
Step 3: Add The Events Calendar Shortcode & Block Element
Within the Elementor page editor, on the left sidebar, you will find all the Elements or widgets you can add to your page. Here you can scroll down to the “General” section and find our “The Events Calendar Shortcode & Block”, or search for it using the search box at the top.
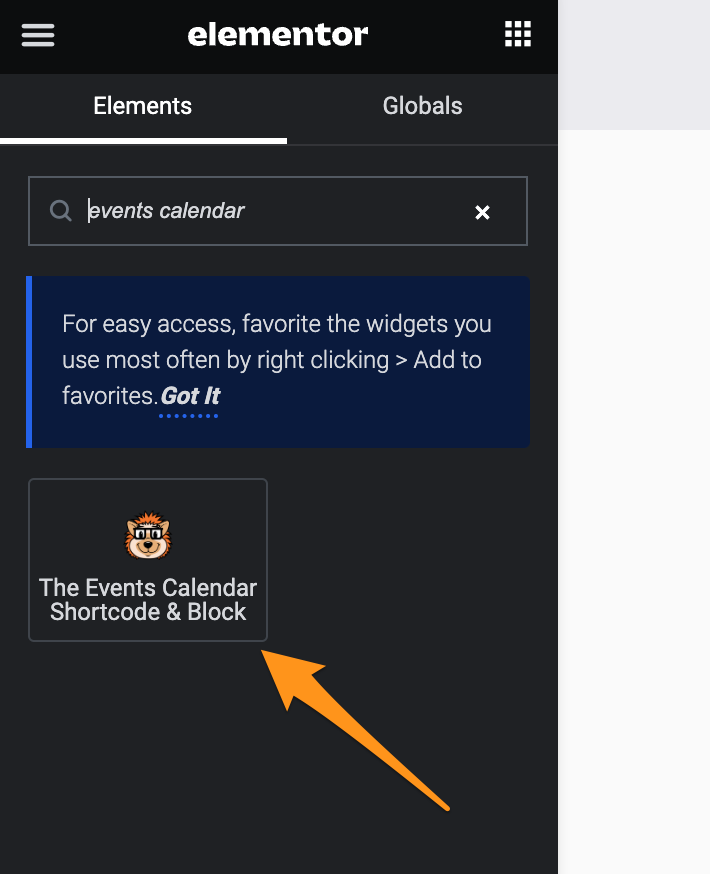
Click on icon for “The Events Calendar Shortcode & Block” to add it to your page.
Step 4: Select Your Options
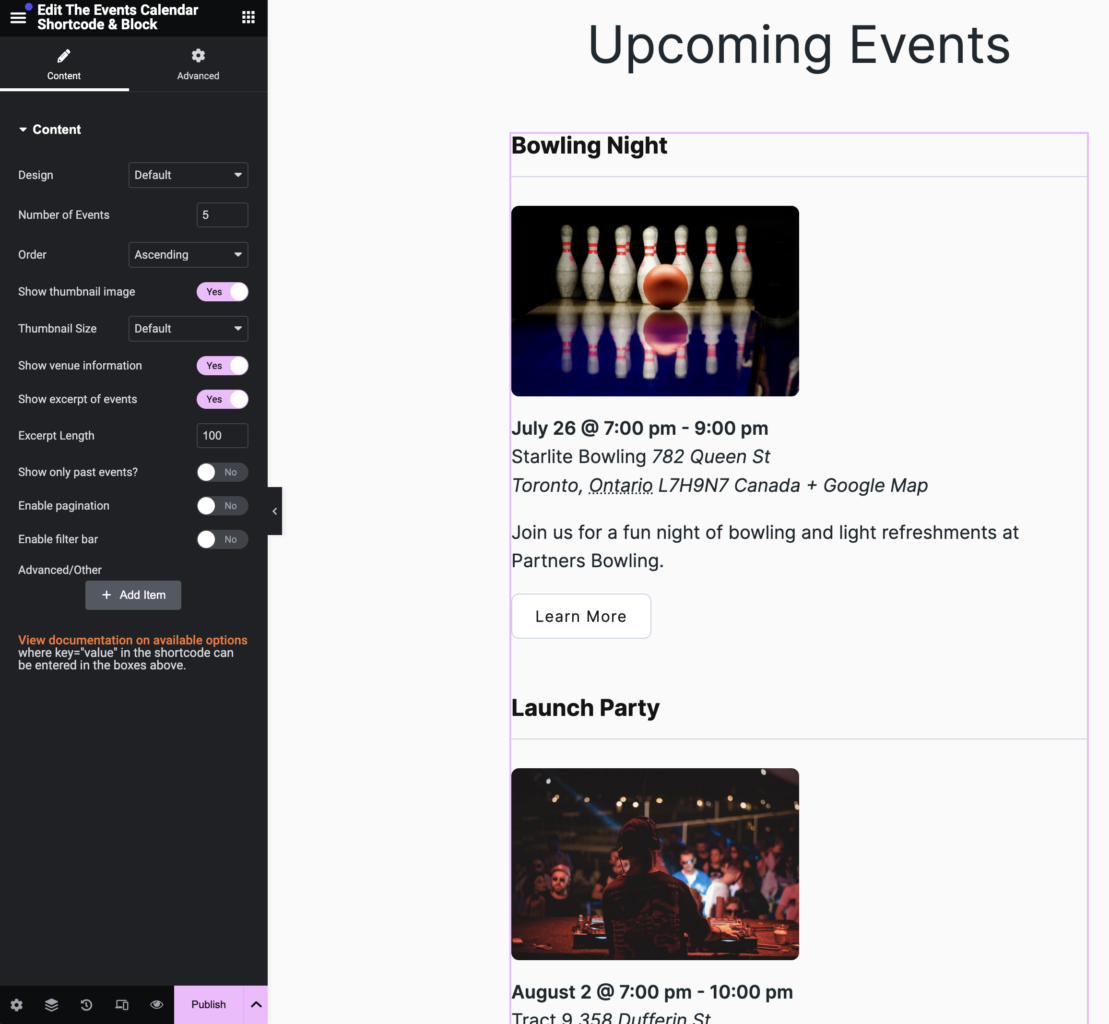
Now that you have the listing of upcoming events on the page, you can customize the options. Change the number of events that are displayed, whether or not to show a thumbnail or the venue, and more.
Step 5: Publish Your Page
Finally, click the Publish button (or Update if you’ve already published the page before) to save your changes. That’s it! Now visitors can see a listing of your events.
Conclusion
By using The Events Calendar Shortcode & Block plugin along with the Elementor page editor, you can easily and visually add event listings throughout your site where your visitors will see them. There’s a number of designs and options you can choose from, such as adding a filter bar or pagination. Try it today and make it easy for your visitors to discover and attend your events!