Event Calendar Newsletter allows you to automatically insert your upcoming events into an automated newsletter. Events can be included from one of several different WordPress event calendar plugins.
Brevo allows you to set up an automated “RSS campaign” so subscribers can be kept up to date automatically of the events on your WordPress site.
We’ll walk you through how to create this campaign step by step. Once it’s running, all you’ll need to do is add and manage your events on your WordPress site!
Create a Saved Template of Events
Follow the instructions to save a template then go to Event Calendar Newsletter > Saved Templates to see the “Feed URL.” This will be needed when we create the campaign in Brevo in the next step.
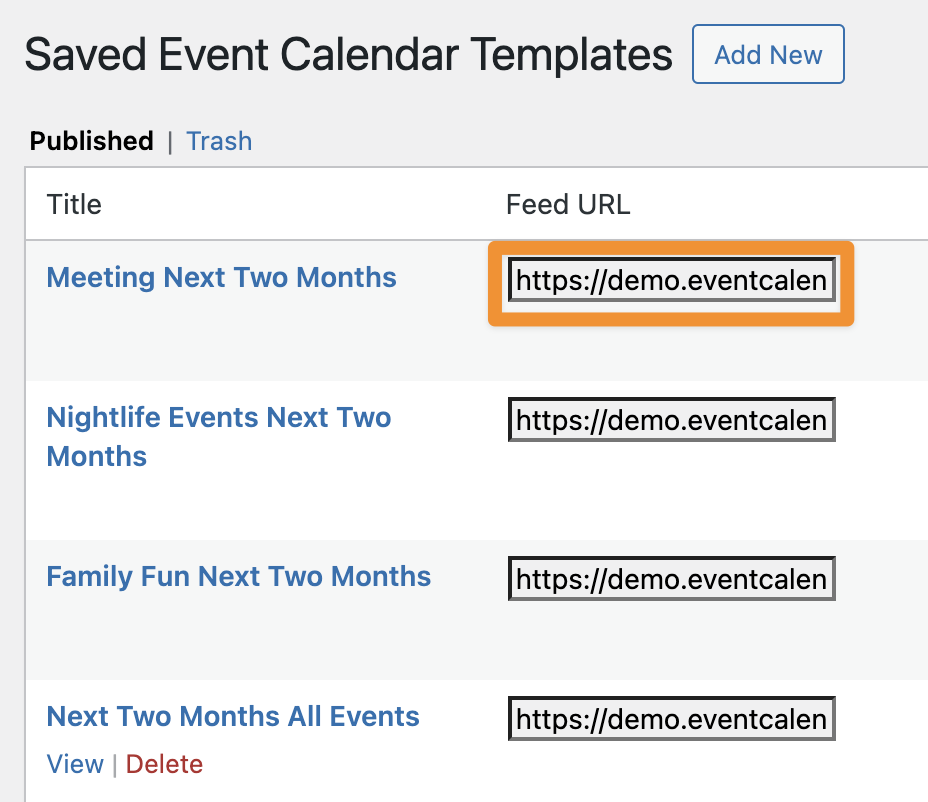
Depending on your WordPress calendar, you can choose what time period of events you would like to include (ie. the next two weeks) and even filter by things like event category or tags.
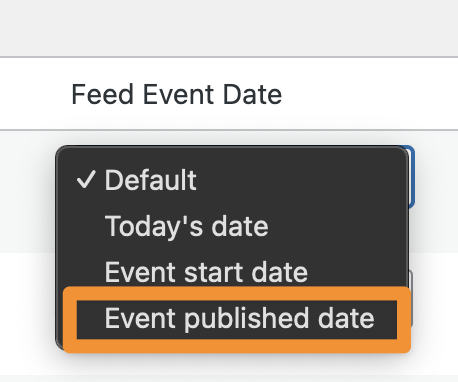
Select the Event Feed Date
If you want the events to always look “new” and always be included in your emails, leave the “Feed Event Date” the default. If you only want new events to be included, you can change the setting to “Event published date”
Create a new RSS Campaign in Brevo
We’ll use the “RSS campaign” integration in Brevo to automatically create new campaigns based on the events on your site.
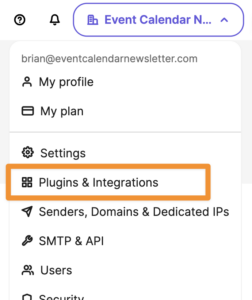
Step 1. Click on your account button in the top-right corner, and choose “Plugins & Integrations”
Step 2. Search for “rss” and select the RSS campaign integration

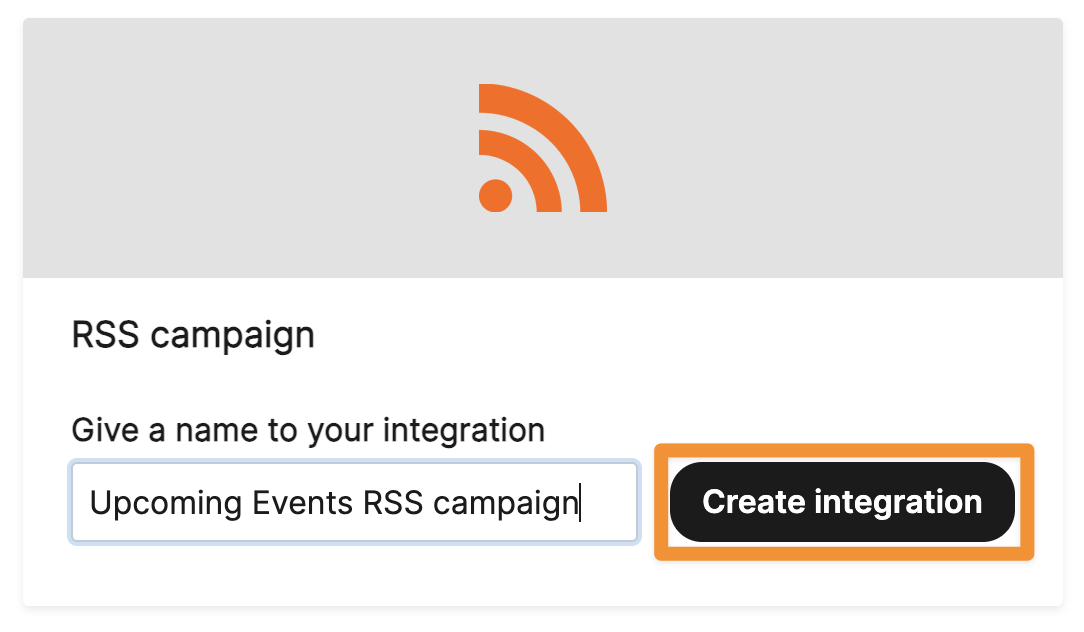
Step 3. Enter a name for the RSS campaign integration (this is an internal name) and click Create Integration
Step 4. In your WordPress admin, go to Event Calendar Newsletter > Saved Templates and copy the “Feed URL” of your Saved Template. Paste it as the “RSS Feed URL” in Brevo and then click Load RSS feed
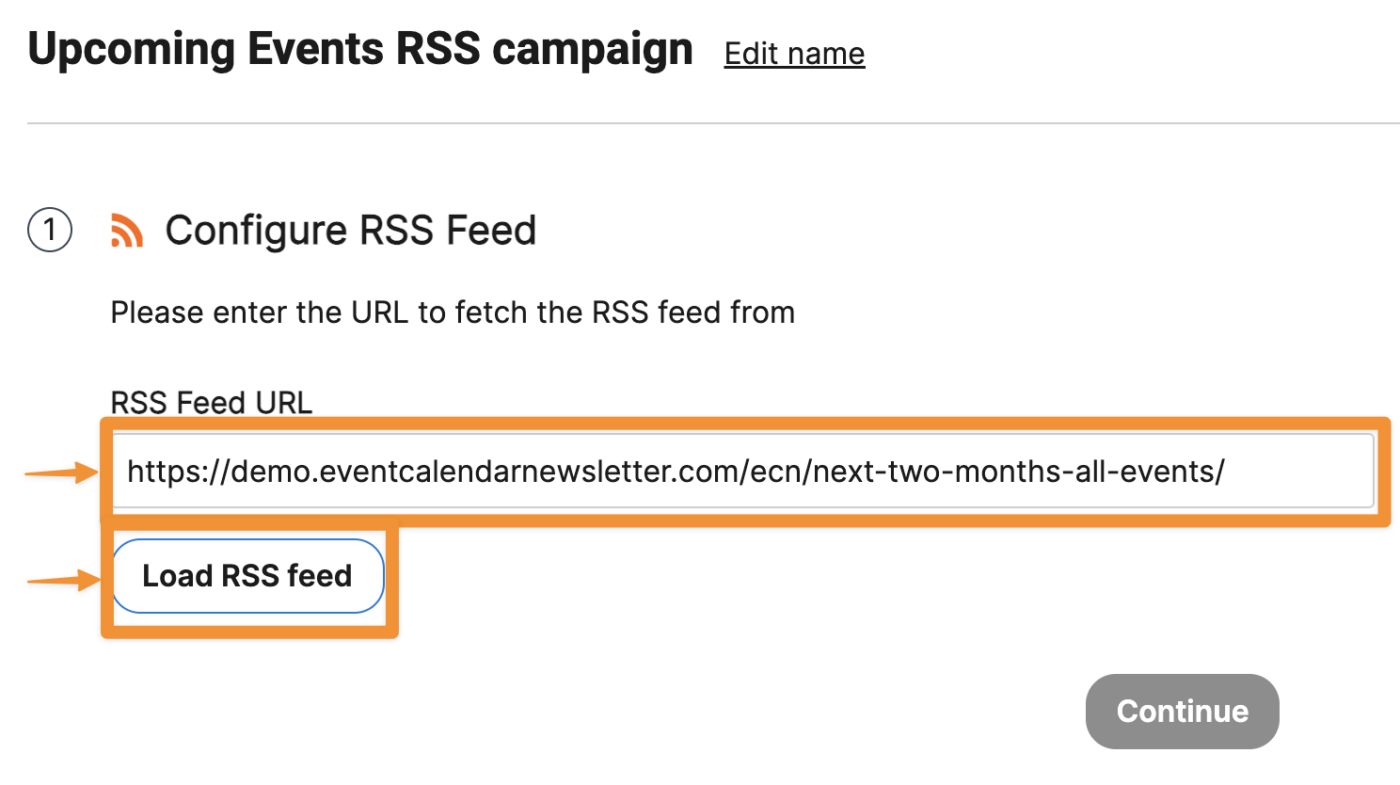
Step 5. Make sure a feed loads correctly, and click Continue
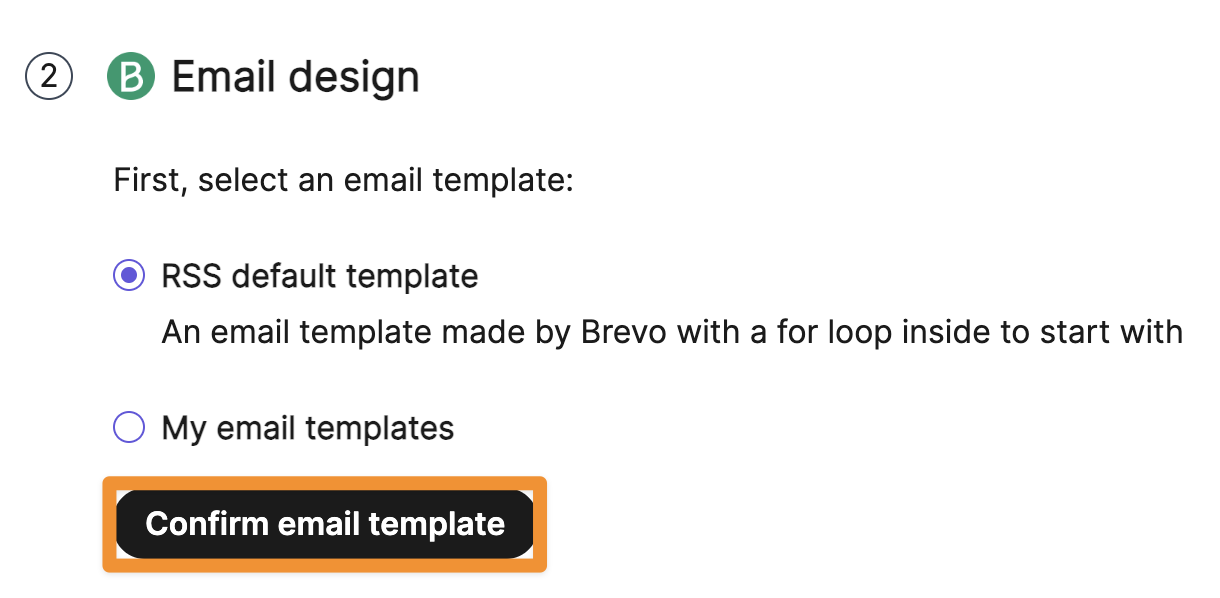
Step 6. Choose the default “RSS default template” which we’ll customize, then click Confirm email template
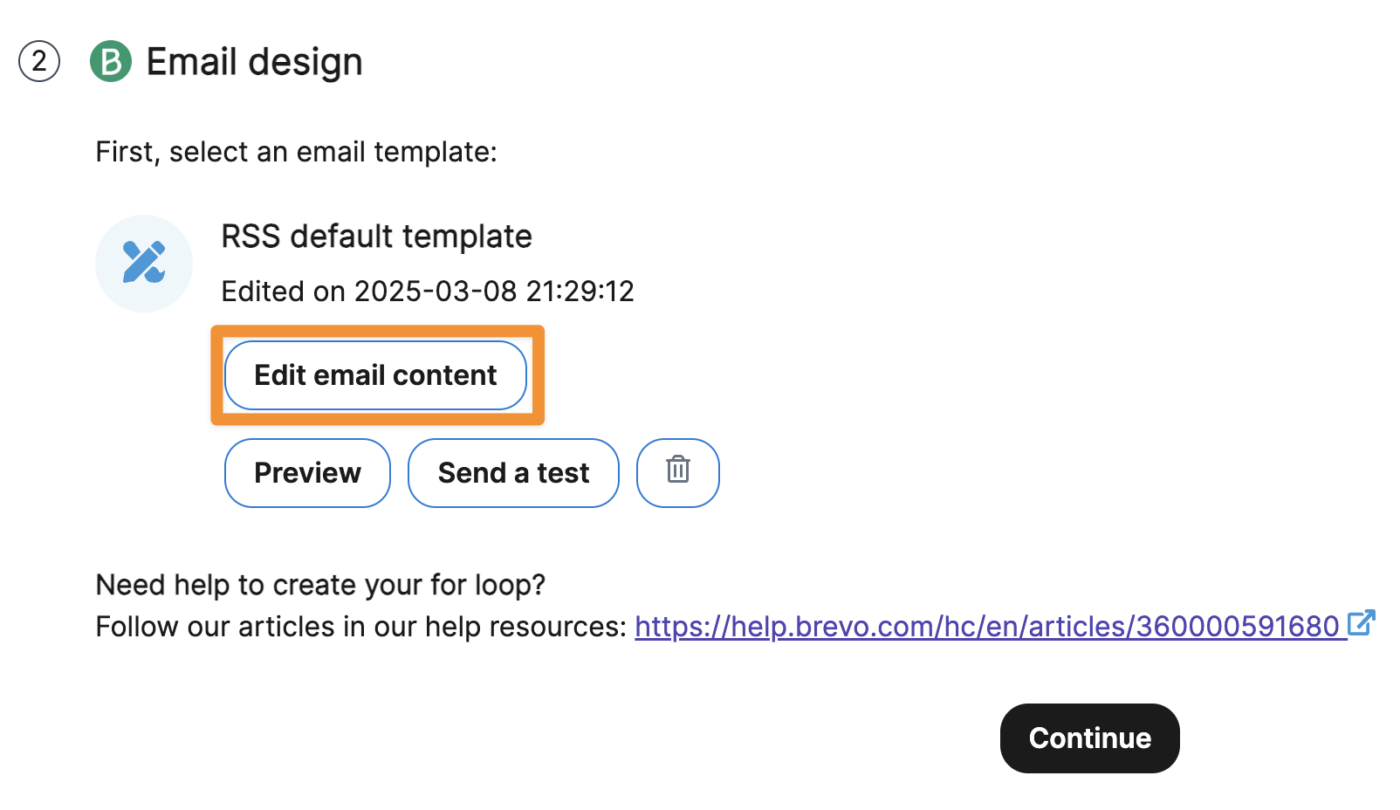
Step 7. Click Edit email content to open the popup email editor
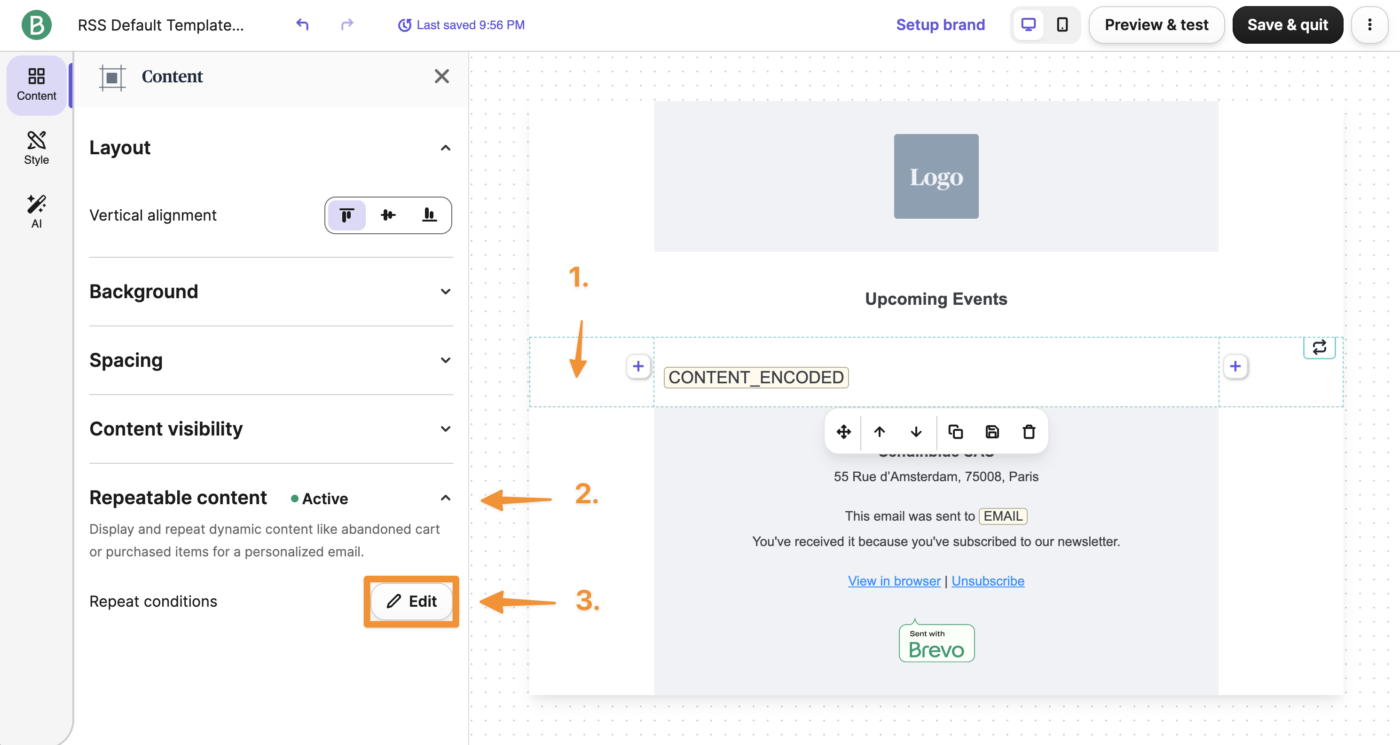
Step 8. The template can be designed how you would like, but in the RSS “repeatable content” section, remove everything except “DESCRIPTION.” Then, click on it to show the “Edit variable” pop-up and enter:
{{ item.CONTENT_ENCODED }}
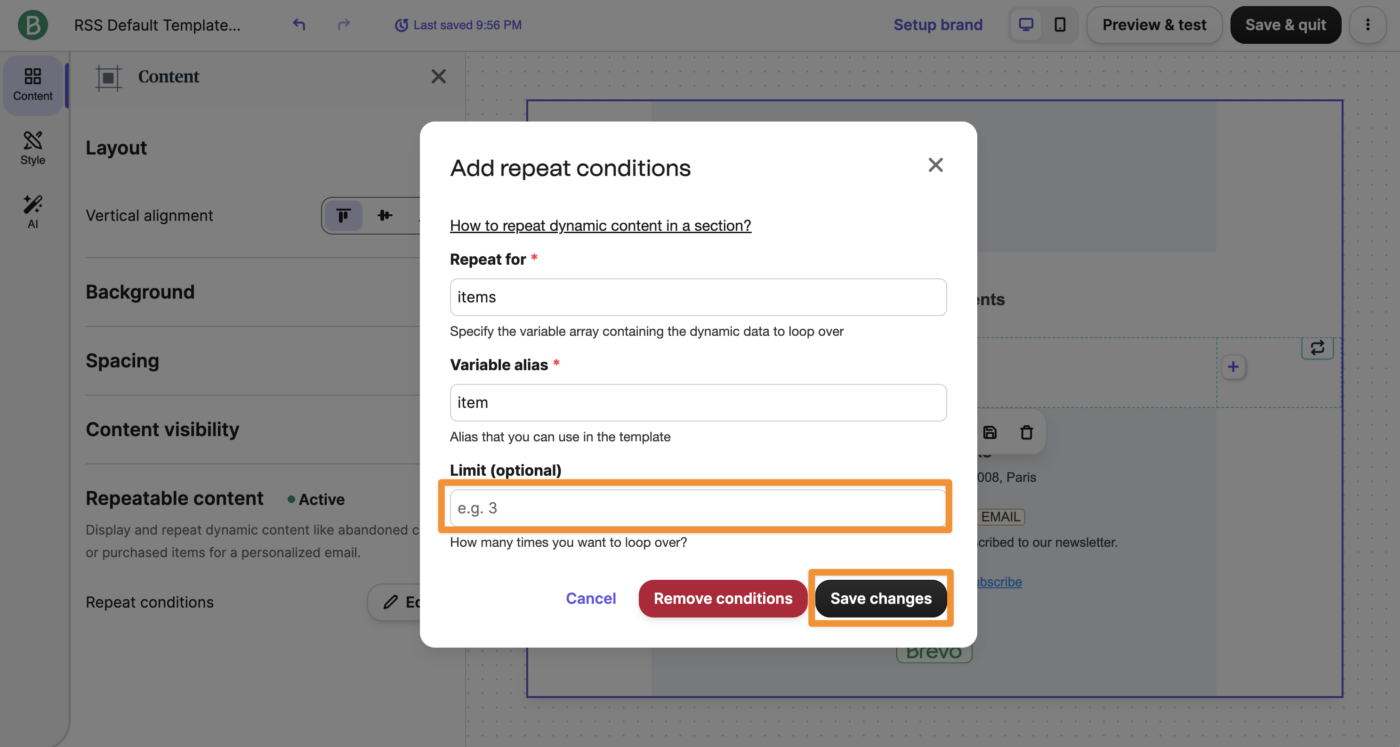
Step 9. Click on the section, click the “Repeatable Content” setting group on the left, then click Edit
Step 10. Clear the “limit” value, then click Save Changes
Step 11. Click Save & Quit in the top-left, then Save & Quit again (it’s not possible to click “Save & Activate” because we haven’t specified the “from” email address)
Step 12. Back in the integration setup, click Continue
Step 13. Since an RSS campaign cannot be previewed, we highly recommend choosing a test list first. Once you’ve verified everything looks correct and after a couple automated sends, edit the setting to your actual contact list.
Choose your contact list, then click Continue

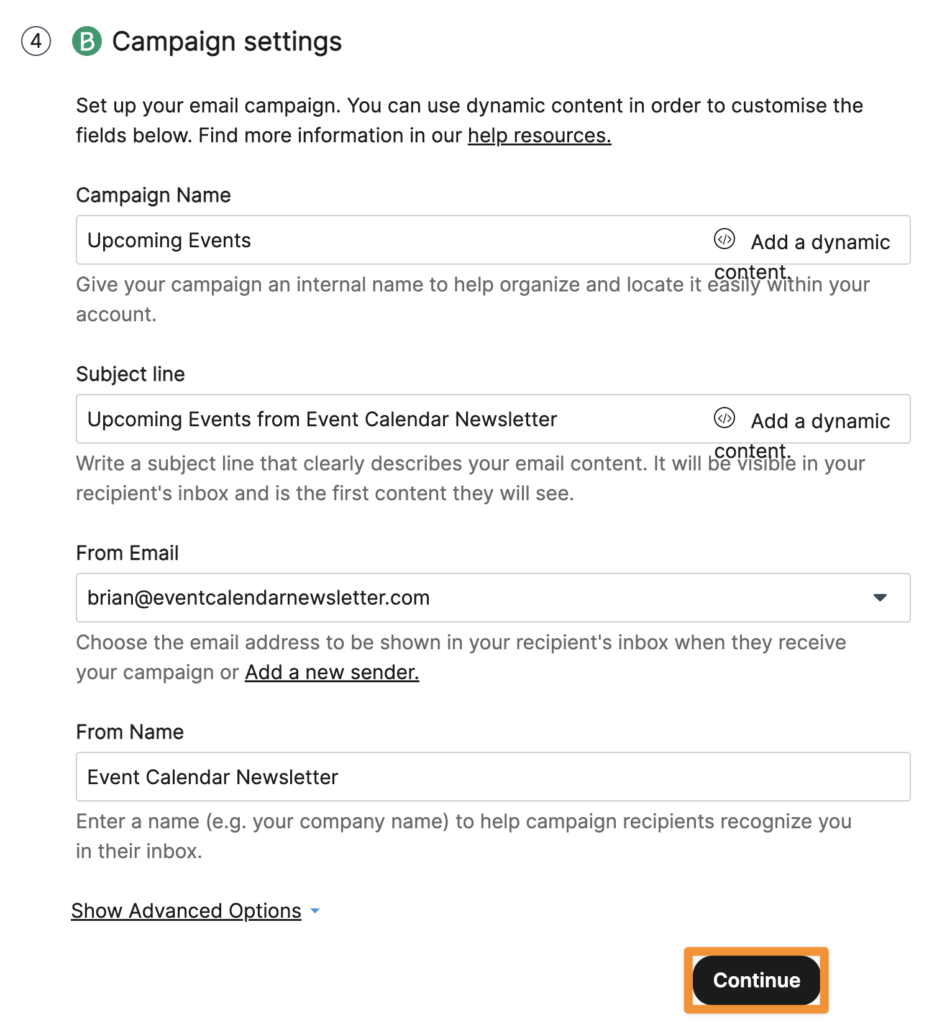
Step 14. Specify the campaign name, e-mail subject, from name and from email address, then click Continue
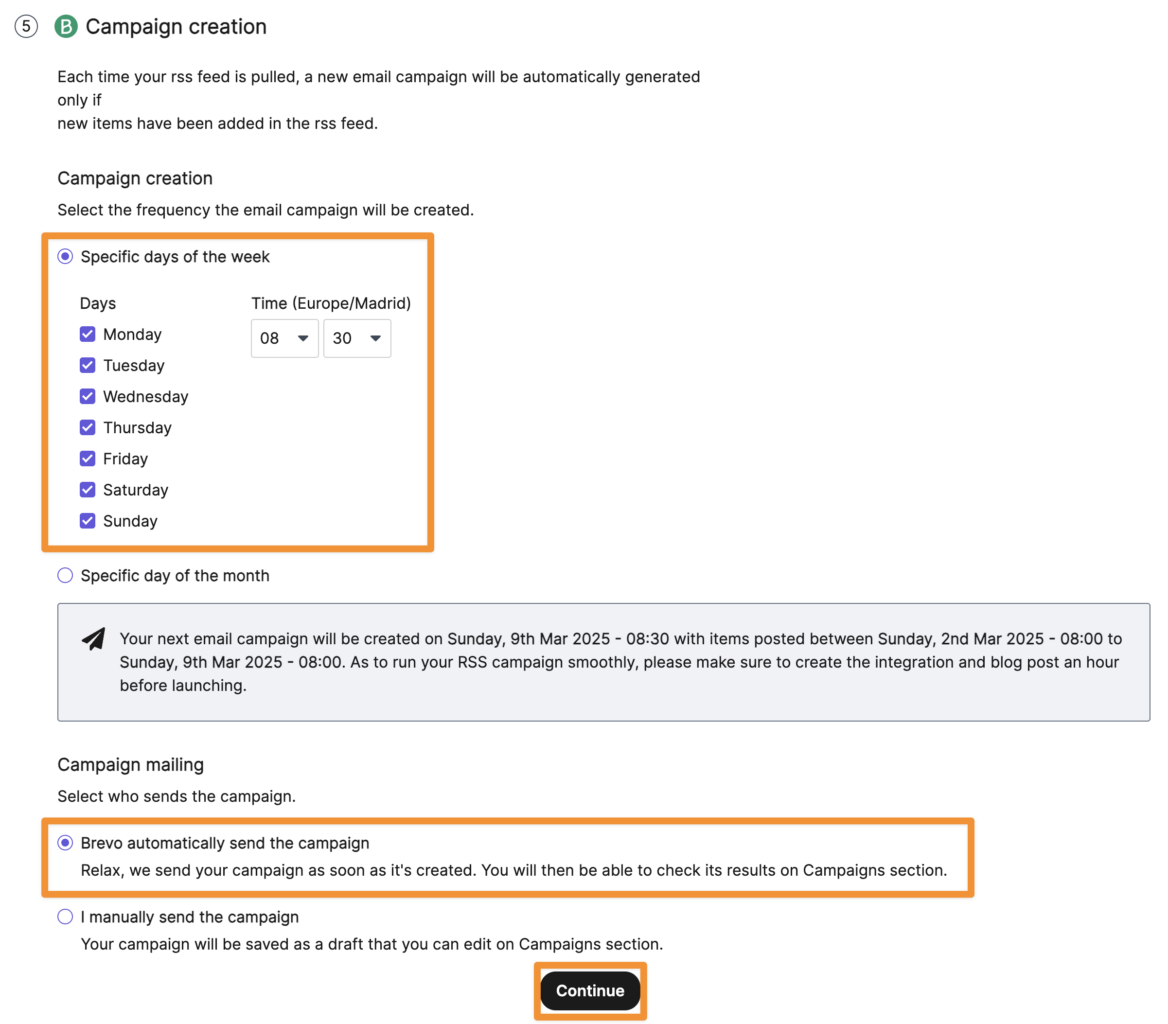
Step 15. Configure when you want the automated emails to send, select “Brevo automatically send the campaign”, then click Continue
Step 16. Finally click Save and activate
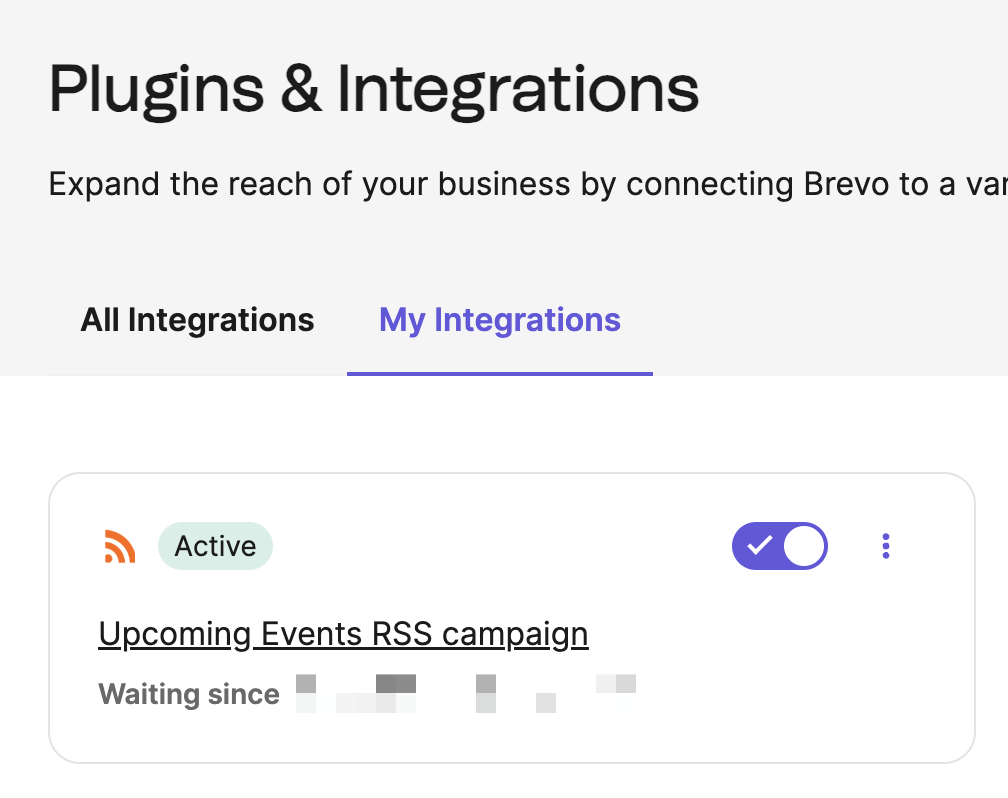
After being redirected to the “Plugins & Integrations” page, wait and verify the integration becomes enabled.
That’s it! The events from Event Calendar Newsletter will automatically update and send to your list of Brevo contacts.